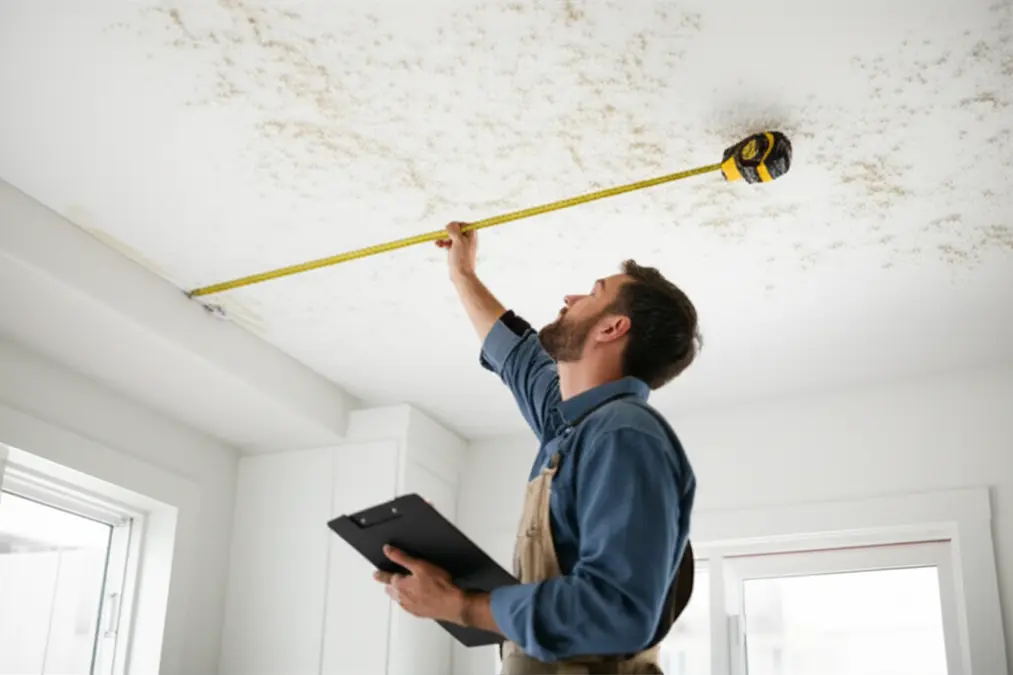
Smooth Ceiling Cost in Toronto: What You Will Pay in 2026
smooth vs popcorn ceiling comparison cost is one of the top questions Toronto homeowners ask when upgrading from textured or popcorn ceilings. A smooth ceiling gives your home a clean, modern look that increases both aesthetic appeal and resale value. In this guide, we break down smooth ceiling Toronto pricing so you can make an informed decision.
Popcorn Free specializes in creating flawless smooth ceilings across Toronto, Mississauga, Brampton, Vaughan, Oakville, and the entire GTA. Call 289-806-1616 for your free estimate.
Smooth Ceiling Cost Breakdown
Popcorn Ceiling Removal + Smooth Finish
Skim Coating Over Existing Texture
By Room Size (Popcorn Removal + Smooth Finish)
New Drywall with Smooth Finish
If you need ceiling replacement with a smooth finish:
What Determines Smooth Ceiling Cost?
Existing Ceiling Condition
The starting condition is the biggest cost factor. A ceiling with minor imperfections needs less skim coating than one with heavy texture, damaged drywall, or multiple layers of paint.
Number of Skim Coats Required
A truly smooth ceiling requires precision. Most projects need 2–3 coats of joint compound, with sanding between each coat. More coats mean more labour but a better result.
Ceiling Height and Accessibility
Standard 8-foot ceilings are most affordable. Every additional foot of height increases costs because of scaffolding needs, harder reach, and slower work pace.
Room Preparation Needs
Rooms with heavy furniture, built-in shelving, or complex layouts require more preparation time. Empty rooms cost less to work in.
Asbestos Testing
Toronto homes built before 1990 should be tested for asbestos in ceiling texture. Testing costs $50–$150. If asbestos is present, removal costs increase significantly due to required safety protocols under Ontario regulations.
Why Smooth Ceilings Are Worth the Investment
Increased Home Value
Real estate agents in Toronto consistently report that smooth ceilings can increase a home's perceived value by $2,000–$10,000. Buyers see textured ceilings — especially popcorn — as dated and a renovation expense they would rather avoid.
Modern Aesthetic
Smooth ceilings make rooms feel larger, brighter, and more contemporary. They reflect light evenly and complement any interior design style from minimalist to traditional.
Easier Maintenance
Unlike textured ceilings that trap dust, cobwebs, and allergens, smooth ceilings are easy to clean and repaint. A simple wipe-down or fresh coat of paint keeps them looking new.
Better Lighting
Smooth ceilings distribute both natural and artificial light more evenly. This is especially noticeable with pot lights and modern light fixtures that cast upward light.
The Smooth Ceiling Process
Step 1: Assessment
We examine your existing ceiling to determine the best approach — direct skim coating, texture removal plus skim coating, or full replacement. We provide a free, detailed quote for homeowners across the GTA.
Step 2: Protection
All furniture, floors, and walls are protected with professional-grade coverings. We seal vents and doorways to contain dust.
Step 3: Texture Removal (if needed)
For popcorn ceilings, stipple ceilings, or stucco ceilings, we carefully remove the existing texture using wet scraping techniques that minimize dust and damage.
Step 4: Skim Coating
We apply multiple thin coats of premium joint compound across the entire ceiling surface. Each coat is carefully feathered and levelled to create a perfectly flat plane.
Step 5: Sanding
Between coats and after the final coat, we sand the ceiling to a glass-smooth finish using progressively finer grits. This is the most critical step for a flawless result.
Step 6: Priming and Painting
The smooth ceiling is primed with a high-quality primer that seals the compound and provides a uniform base. Then we apply ceiling paint for a perfect, consistent finish.
Smooth Ceiling Cost by GTA City
Pricing varies slightly across the Greater Toronto Area:
Level 5 Finish: The Gold Standard
For the smoothest possible result, we offer a Level 5 drywall finish. This involves applying a thin skim coat of compound over the entire ceiling surface — even areas without joints or fasteners. A Level 5 finish:
Frequently Asked Questions
###
Diving Deeper: Factors Affecting Smooth Ceiling Costs in Toronto
While the above pricing provides a general overview, several granular factors can influence the final cost of your smooth ceiling project in Toronto. Understanding these nuances will allow you to budget accurately and communicate effectively with contractors.
The Age of Your Home
popcorn ceilings in older homess, particularly those in neighborhoods like Rosedale or The Annex, often present unique challenges. These might include:
The Type of Texture Being Removed
The type of existing texture on your ceiling significantly impacts the removal process and, consequently, the cost.
The Complexity of the Room
Beyond the square footage, the complexity of the room's layout and features can impact the cost.
The Time of Year
Like many home renovation projects, demand for smooth ceiling services can fluctuate throughout the year.
Contractor Experience and Reputation
The experience and reputation of the contractor you choose can also influence the cost.
DIY vs. Professional Smooth Ceiling Installation: A Toronto Perspective
While DIY home improvement projects can be tempting, especially with the wealth of online tutorials available, smooth ceiling installation is generally best left to the professionals. Here's why, specifically in the context of Toronto and the GTA:
For Toronto homeowners, the peace of mind and quality of workmanship offered by professional smooth ceiling services often outweigh the perceived cost savings of a DIY project.
Choosing the Right Contractor in Toronto
Finding the right contractor for your smooth ceiling project is crucial for a successful outcome. Here are some tips for selecting a reputable and reliable contractor in the Toronto area:
Understanding the Different Types of Joint Compound
The type of joint compound used can affect the final result and cost. Here's a breakdown of common types:
* All-Purpose Joint Compound: This is a versatile option suitable for most applications, including taping, topping, and filling. It's relatively easy to sand but can shrink slightly as it dries.
* Taping Joint Compound: Designed specifically for the first coat over drywall tape. It has strong adhesive properties and resists cracking.
* Topping Joint Compound: Used for the final coat(s) to create a smooth, even surface. It's very easy to sand and produces a fine finish.
* Lightweight Joint Compound: Easier to work with and sands more easily than traditional compounds. It's a good option for larger projects to reduce fatigue. However, it may not be as durable as other types.
* Quick-Setting Joint Compound (Hot Mud): This compound hardens quickly, allowing for multiple coats in a single day. It's ideal for small repairs or when time is a constraint.
A skilled contractor will know which type of compound is best suited for each stage of the smooth ceiling process.
Adding Value Beyond Smooth Ceilings: Considerations for Your Toronto Home
While focusing on smooth ceilings, consider other improvements that can maximize your home's value and appeal in the competitive Toronto real estate market.
* Pot Light Installation: Recessed lighting enhances the modern aesthetic of smooth ceilings and provides even illumination. This is a very popular upgrade in areas like Leslieville and Riverdale.
* Crown Molding Installation: Adds a touch of elegance and sophistication. Can be paired with smooth ceilings for a classic look.
* Painting: A fresh coat of paint in a neutral color can brighten up your home and make it more appealing to potential buyers. Consider popular Toronto design trends when choosing your colors.
* Insulation Upgrades: Improving your home's insulation can reduce energy costs and increase comfort, making it a more attractive property. The city of Toronto offers programs for energy efficiency upgrades.
* Consider the "Toronto Look": Understand what buyers in your specific neighborhood are looking for. Modern renovations, open-concept layouts, and high-end finishes are often highly valued.
Smooth Ceilings and Home Staging: A Toronto Advantage
If you're planning to sell your home in Toronto, smooth ceilings can be a valuable asset for ceiling renovation for home staging. They create a clean, modern backdrop that allows potential buyers to focus on the other features of your home.
* Neutral Palette: Smooth ceilings pair well with a neutral color palette, which is essential for effective home staging.
* Highlight Key Features: They draw attention to architectural details, such as large windows or fireplaces.
* Appeal to a Wider Audience: Smooth ceilings have broad appeal and are less likely to alienate potential buyers with outdated tastes.
* Increased Perceived Value: As mentioned earlier, smooth ceilings can increase the perceived value of your home, making it more attractive to buyers.
How Long Does Smooth Ceiling Installation Take?
The duration of a smooth ceiling project depends on several factors:
Generally, a small bedroom might take 2-3 days, while an entire home could take a week or more.
Maintaining Your Smooth Ceilings in Toronto
Once your smooth ceilings are installed, proper maintenance will help keep them looking their best for years to come.
* Regular Cleaning: Dust your ceilings regularly with a soft brush or vacuum cleaner attachment to prevent the buildup of dust and cobwebs.
* Spot Cleaning: Clean any stains or marks with a damp cloth and mild detergent. Avoid using abrasive cleaners, which can damage the finish.
* Repainting: Repaint your ceilings every few years to keep them looking fresh and bright. Use a high-quality ceiling paint with a matte finish.
* Address Cracks Promptly: Repair any cracks or imperfections as soon as they appear to prevent them from worsening.
* Consider a Humidifier: In the winter months, using a humidifier can help prevent drywall from drying out and cracking.
Smooth Ceiling Trends in Toronto: What's Popular Now?
Toronto homeowners are increasingly opting for minimalist designs and clean lines.
* Level 5 Finishes: The ultimate in smoothness, providing a flawless canvas for any decor.
* Integrated Lighting: Pot lights and other recessed lighting options are commonly paired with smooth ceilings.
* Neutral Colors: White, off-white, and light gray are popular choices for creating a bright and airy feel.
* Open-Concept Designs: Smooth ceilings help to create a seamless transition between rooms in open-concept spaces.
* Modern Farmhouse Style: Smooth ceilings can complement the clean lines of modern farmhouse interiors.
How Smooth Ceilings Can Improve Air Quality
Textured ceilings, particularly popcorn ceilings, can trap dust, allergens, and other pollutants, contributing to poor indoor air quality. Smooth ceilings are easier to clean and maintain, reducing the buildup of these harmful particles.
* Reduced Dust Accumulation: Smooth surfaces are less likely to trap dust and allergens.
* Easy Cleaning: Regular cleaning can remove any accumulated dust and pollutants.
* Improved Ventilation: Smooth ceilings allow for better air circulation, reducing the concentration of pollutants.
* Healthier Living Environment: By improving air quality, smooth ceilings can contribute to a healthier living environment, especially for people with allergies or respiratory problems.
Frequently Asked Questions
How much does it cost to remove asbestos from a popcorn ceiling in Toronto?
Asbestos removal costs can vary significantly depending on the size of the ceiling and the complexity of the project. Expect to pay between $5-$15 per square foot for professional asbestos abatement. This price includes testing, removal, disposal, and air quality testing to ensure the area is safe. Always hire a certified asbestos removal company in Toronto for this task.
Can I just cover my popcorn ceiling with drywall instead of removing it?
Yes, it's possible to install new drywall over an existing popcorn ceiling. However, this can lower the ceiling height and may not be the best option if the popcorn ceiling contains asbestos. It's also important to ensure the existing ceiling is structurally sound before adding the weight of new drywall. This method generally costs between $4-$8 per square foot, making it potentially more expensive than simple removal and skim coating.
What is the difference between a Level 4 and Level 5 drywall finish?
A Level 4 drywall finish is suitable for surfaces that will be covered with light textures or heavy wallpaper. It involves taping the joints, applying two coats of joint compound, and sanding. A Level 5 finish, on the other hand, is the highest level of smoothness and is recommended for surfaces that will be painted or exposed to critical lighting. It involves applying a thin skim coat of compound over the entire surface to eliminate any imperfections.
What are the building code requirements for ceiling height in Toronto renovations?
The Ontario Building Code requires a minimum ceiling height of 2.1 meters (6 feet 11 inches) in habitable rooms. When renovating, ensure that removing or covering your existing ceiling does not reduce the ceiling height below this minimum requirement. Consult with a qualified contractor or building inspector to ensure compliance.
Ready to transform your Toronto home with flawless smooth ceilings? Contact Popcorn Free today for a free estimate. Our experienced team serves Toronto, Mississauga, Brampton, Vaughan, Oakville, and the entire GTA.
---
📚 Related Guides
Call 289-806-1616 to schedule your consultation!