Drywall Repair After Popcorn Ceiling Removal: Getting a Perfect Finish
After scraping off popcorn ceiling texture, the underlying drywall often needs repair before you can achieve that smooth, modern look. Understanding what to expect after removal — and how proper drywall repair creates a flawless ceiling — helps you plan your project with confidence. Many homeowners in areas like Etobicoke and Mississauga are opting for this upgrade to modernize their homes.
What Does Drywall Look Like After Popcorn Removal?
When popcorn texture is scraped off, the drywall underneath typically shows:
These imperfections are completely normal and are why professional skim coating is essential for a smooth finish. Don't be alarmed – it's all part of the process, especially in older homes in neighborhoods like The Beaches where popcorn ceilings were common.
The Skim Coating Process
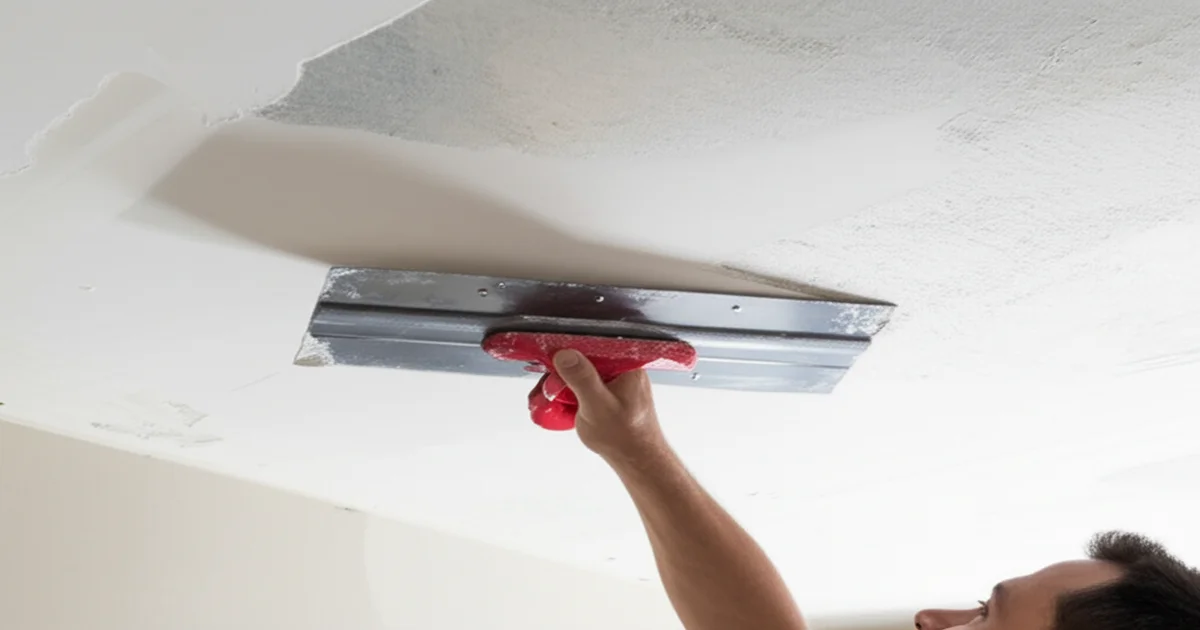
Skim coating is the most critical step in achieving a beautiful ceiling after popcorn removal. It involves applying thin layers of joint compound over the entire ceiling surface to create a smooth, uniform finish. This process effectively hides imperfections and creates a flawless canvas for painting.
Step 1: Surface Preparation
Step 2: First Skim Coat
Step 3: Sanding
Step 4: Second Skim Coat
Step 5: Final Sanding & Primer
Common Drywall Problems After Removal
Tape Joint Ridges: The drywall tape joints that were hidden under popcorn texture often become visible after removal. These raised lines run along the seams where drywall sheets meet and require careful feathering with joint compound. The key is to gradually blend the joint compound outwards, creating a smooth transition.
Screw Pops: Over decades, drywall screws can work their way out slightly, creating small bumps. These need to be re-driven and covered with compound. Use a drywall screw gun to set the screws slightly below the surface of the drywall.
water damaged ceiling repair: Popcorn texture often hides water stains from past leaks. After removal, these stains must be sealed with a stain-blocking primer before skim coating. Kilz and Zinsser are two popular brands of stain-blocking primers. It's also wise to address the source of the leak to prevent future problems.
Stress Cracks: Settlement cracks in the drywall may appear once the texture is removed. These should be taped and mudded before skim coating. Use fiberglass mesh tape for added strength and durability.
Drywall Delamination: In some cases, the paper facing of the drywall may peel away during popcorn ceiling removal, especially if the ceiling was previously painted. This is called delamination and requires careful repair. Remove any loose paper, apply a bonding agent, and then patch with joint compound.
Dust and Debris: Even after thorough cleaning, residual dust and debris can interfere with the skim coating process. Vacuum the ceiling thoroughly before each coat of joint compound. A tack cloth can also be used to remove any remaining dust particles.
Choosing the Right Joint Compound
Selecting the right type of joint compound is crucial for achieving a professional-looking finish. Here's a breakdown of the different types available:
For most popcorn ceiling removal projects, all-purpose or lightweight joint compound is a good choice for the first coat, followed by topping compound for the final coat.
DIY Skim Coating vs. Professional
While experienced DIYers can attempt skim coating, ceiling work is significantly more challenging than walls. Gravity works against you, and any imperfections are highlighted by overhead lighting. Professional results require:
Furthermore, professionals are equipped with the right safety gear, including respirators and eye protection, to minimize exposure to drywall dust. They also have the experience to identify and address potential problems, such as mold or asbestos, which may be present in older homes. Consider this if you live in an older home in Rosedale or Forest Hill.
Our professional team handles all drywall repair as part of our popcorn ceiling removal service. Learn about our complete process in our DIY vs professional guide.
Cost of Drywall Repair After Removal
When included as part of professional popcorn ceiling removal, skim coating and drywall repair are typically included in the per-square-foot price of $2.00–$4.50. This comprehensive price often includes disposal of the old popcorn ceiling material, which can be a significant advantage, especially if you live in a condo in downtown Toronto with strict disposal regulations. If you need drywall repair as a standalone service (for example, after a DIY scraping attempt), expect to pay:
These prices can vary depending on the complexity of the job, the condition of the drywall, and the location of your home within the GTA. For example, accessing a ceiling in a multi-story home in Yorkville might be more challenging and thus slightly more expensive.
See our complete cost guide for detailed pricing.
Tools and Materials You'll Need
Whether you're attempting a DIY repair or simply want to understand the process better, here's a list of the essential tools and materials:
Tips for the Best Results
Addressing Asbestos Concerns
If your home was built before the 1980s, there is a possibility that the popcorn ceiling contains asbestos. Asbestos is a known carcinogen, and it's important to handle it safely. Do not attempt to remove a popcorn ceiling yourself if you suspect it contains asbestos.
The best course of action is to have the ceiling tested by a qualified asbestos abatement professional. They can collect a sample and send it to a lab for analysis. If asbestos is present, they can safely remove the ceiling according to government regulations. This is especially important in older areas like Cabbagetown or Leslieville.
Ignoring asbestos can lead to serious health problems. The cost of asbestos testing in Toronto and removal is a worthwhile investment in your health and safety.
How to Prevent Future Drywall Damage
Once your ceiling is smooth and beautiful, you'll want to take steps to prevent future damage. Here are a few tips:
Get Professional Results
Why risk an imperfect finish? Call 289-806-1616 for professional popcorn ceiling removal with expert drywall repair included. Our team ensures a flawless smooth ceiling every time. We know the specific challenges of older homes in areas like High Park and can provide tailored solutions.
Serving Toronto, Scarborough, North York, and the entire GTA. We also serve areas like Brampton, Vaughan, and Markham.
Frequently Asked Questions
Is drywall repair included in popcorn ceiling removal cost?
Yes, our professional service includes scraping, skim coating, drywall repair, sanding, and priming — all in the per-square-foot price. We believe in transparent pricing and providing a complete solution.
How long does drywall repair take after popcorn removal?
Drywall repair and skim coating typically add 1 day to the project timeline. Two coats of compound with drying time between are standard. Complex repairs or larger areas may require additional time.
Can I just scrape and paint without skim coating?
Not recommended. Without skim coating, tape joints, screw marks, and scraping damage will be visible through the paint. Skim coating is essential for a professional result and a smooth, modern look.
What type of joint compound is best for skim coating?
All-purpose joint compound is a good starting point, followed by a topping compound for the final coat. Lightweight joint compound is also a good option for ceilings, as it's easier to sand.
How do I know if my popcorn ceiling contains asbestos?
The only way to know for sure is to have it tested by a qualified asbestos abatement professional. Do not attempt to remove it yourself if you suspect it contains asbestos.
What are the benefits of hiring a professional for popcorn ceiling removal and drywall repair?
Professionals have the experience, tools, and safety equipment to remove popcorn ceilings and repair drywall efficiently and safely. They can also identify and address potential problems, such as asbestos or mold.
What kind of paint should I use after skim coating my ceiling?
A high-quality, flat or matte ceiling paint is recommended. Flat paint helps to minimize imperfections and provides a smooth, even finish.
Can I paint the ceiling immediately after priming?
It's best to wait for the primer to dry completely before painting. Check the manufacturer's instructions for the recommended drying time.
Why settle for less than perfect? Call 1-289-806-1616 today for a free consultation and let us transform your ceilings!
---