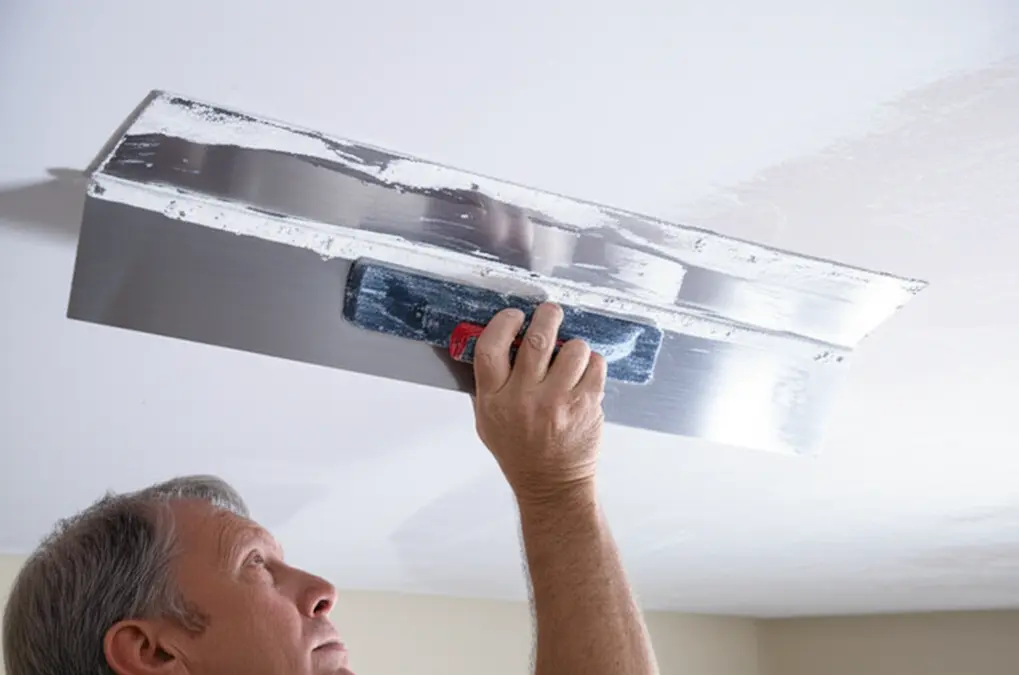
Textured Ceiling Repair: Fix or Remove?
If your textured ceiling is showing its age — with cracks, water stains, peeling, or sagging — you're faced with an important decision: should you repair the texture or remove it entirely? This guide helps Toronto homeowners make the right choice.
Common Textured Ceiling Problems
Textured ceilings develop issues over time. Here are the most common problems we see in Toronto homes:
1. Water Damage
Water stains are one of the most common textured ceiling issues. Causes include:
Water-damaged texture often becomes soft, discolored, and may sag or fall away.
2. Cracking
Ceilings develop cracks due to:
3. Peeling and Flaking
Texture can peel or flake when:
4. Sagging
Sagging texture indicates:
5. Yellowing and Discoloration
Textured ceilings yellow over time due to:
Option 1: Repair the Texture
Repairing textured ceilings means fixing the damaged areas while maintaining the existing texture style.
When repair makes sense:
Repair process:
Repair costs: $200–$800 per affected area
Drawbacks of repair:
Option 2: Remove the Texture Entirely
Full texture removal means taking off all the existing texture and finishing with a smooth vs popcorn ceiling comparison.
When removal makes sense:
Removal benefits:
Removal costs: $2.00–$5.00 per square foot (full room)
Making the Decision: Repair vs Remove
Here's a decision framework for Toronto homeowners:
Choose REPAIR if:
Choose REMOVAL if:
The Smart Choice for Most Toronto Homeowners
For the majority of Toronto homeowners we work with, full removal is the better long-term investment. Here's why:
How Popcorn Free Handles Both
Whether you choose repair or removal, Popcorn Free has you covered:
For repairs:
For removal:
Get Expert Advice
Not sure whether to repair or remove? Call 289-806-1616 for a free consultation. We'll assess your textured ceiling and give you honest advice on the best approach for your situation and budget.
Repair vs Removal: GTA Neighbourhood Considerations
The repair-vs-remove decision can depend on where you live in the Greater Toronto Area:
High-Value Markets (Oakville, Vaughan, Richmond Hill)
In premium markets, removal is almost always the better investment. Buyers in these areas expect modern, smooth ceilings, and repaired texture can look patchy even when done well. Think of the updated homes in Oakville's Bronte neighborhood or the luxury condos in Vaughan's City Centre – smooth ceilings are the norm.
Competitive Markets (Toronto, Mississauga, Markham)
If you're selling in a competitive Toronto, Mississauga, or Markham neighbourhood, removal gives you a significant edge. Multiple offers are common in these markets, and smooth ceilings help your home stand out. Imagine the difference a smooth ceiling makes in a renovated Victorian in The Annex or a modern condo in downtown Mississauga.
Starter Home Markets (Brampton, Scarborough, North York)
For first-time buyer markets, the decision is more nuanced. If you're staying in the home, removal is the best long-term investment. If you're selling and budget is tight, strategic repairs in visible rooms combined with removal in the main living areas can be a good compromise.
Understanding Different Types of Textured Ceilings
Before you decide to repair or remove, it's helpful to identify the type of texture you have. This affects both the repair process and the difficulty of removal.
1. Popcorn Texture
Also known as acoustic texture, popcorn ceilings were popular from the 1950s to the 1980s. They are characterized by a bumpy, nubby surface.
Repair considerations: Matching popcorn texture is notoriously difficult. The exact size and density of the "popcorn" is hard to replicate.
Removal considerations: Popcorn ceilings installed before the late 1980s may contain asbestos. Professional testing is crucial before any removal work. Learn more about asbestos testing here.
2. Stipple Texture
Stipple texture is created using a brush or sponge to create a pattern of raised dots. It's less bumpy than popcorn but still provides a textured effect.
Repair considerations: Stipple texture is somewhat easier to match than popcorn, but still requires skill to blend seamlessly.
Removal considerations: Stipple texture is generally easier and less messy to remove than popcorn.
3. Swirl Texture
Swirl texture is created by applying joint compound in a circular or swirling pattern. It offers a more decorative look.
Repair considerations: Repairing swirl textures requires replicating the original swirl pattern, which can be challenging.
Removal considerations: Swirl texture can be more time-consuming to remove due to the thicker application of joint compound.
4. Knockdown Texture
knockdown texture guide is created by spraying a thick layer of joint compound and then "knocking down" the peaks with a trowel. This results in a flattened, textured surface.
Repair considerations: Repairing knockdown texture involves matching the original spray pattern and knockdown technique.
Removal considerations: Knockdown texture can be messy to remove, as the joint compound tends to be applied heavily.
DIY Repair vs. Professional Service: What's Right for You?
While some minor textured ceiling repairs can be tackled as DIY projects, larger or more complex repairs, and especially texture removal, are best left to professionals.
DIY Repair (Small Areas Only)
Pros:
Cons:
Professional Service
Pros:
Cons:
When to DIY:
When to Hire a Professional:
The Importance of Asbestos Testing in Older Toronto Homes
As mentioned earlier, popcorn ceilings installed before the late 1980s often contain asbestos. Asbestos is a known carcinogen, and disturbing asbestos-containing materials can release harmful fibers into the air.
If your Toronto home was built before 1990, asbestos testing in Toronto is absolutely essential before you attempt to remove any textured ceiling.
What to do:
Ignoring asbestos can have serious health consequences and legal ramifications. Protect yourself and your family by getting your ceiling tested.
Preparing Your Home for Textured Ceiling Removal
If you've decided on texture removal, proper preparation is key to minimizing mess and disruption.
Achieving a Perfectly Smooth Finish After Texture Removal
Removing the texture is only half the battle. Achieving a perfectly smooth, paint-ready ceiling requires skill and attention to detail.
Tip: Consider using a tinted primer to help hide any remaining imperfections.
Lighting Considerations After Smooth Ceiling Installation
Smooth ceilings reflect light more evenly than textured ceilings, which can significantly improve the brightness and ambiance of a room.
Consider these lighting upgrades after removing your textured ceiling:
The Environmental Benefits of Texture Removal
While often overlooked, removing textured ceilings can have positive environmental impacts.
Frequently Asked Questions
How much does it cost to remove a textured ceiling in Toronto?
The cost of textured ceiling popcorn ceiling removal in Toronto typically ranges from $2.00 to $5.00 per square foot, depending on the size of the room, the type of texture, and whether asbestos testing and abatement are required.
How long does it take to remove a textured ceiling?
The time it takes to remove a textured ceiling depends on the size of the room and the complexity of the job. A small bedroom might take 1-2 days, while a large living room could take 3-5 days.
Is it worth it to remove popcorn ceiling?
Yes, for most Toronto homeowners, removing popcorn ceiling is a worthwhile investment. It modernizes the home, increases its value, and eliminates the potential for future problems.
Can I paint over a textured ceiling?
While you can paint over a textured ceiling, it's generally not recommended. Painting can make the texture more prominent and harder to remove later. It's usually better to either repair the texture or remove it entirely before painting. If you are considering painting, check out our blog post on painting ceilings.
Get Expert Advice
Not sure whether to repair or remove? Call 289-806-1616 for a free consultation. We'll assess your textured ceiling and give you honest advice on the best approach for your situation and budget.