Dealing with Ceiling Water Damage: Insurance and Repair Guide
Ceiling water damage is one of the most stressful problems a homeowner can face. Whether caused by a burst pipe, roof leak, or bathroom overflow, water damage to your ceiling requires prompt attention to prevent structural issues, mold growth, and costly repairs. For homeowners in Toronto, Mississauga, Brampton, Vaughan, and across the Greater Toronto Area, understanding the insurance claims process and repair options is essential for managing this common household emergency.
Ceiling water damage affects thousands of GTA homeowners every year. Ontario's freeze-thaw cycles, aging infrastructure, and severe weather events create numerous opportunities for water intrusion. When water reaches your ceiling, the clock starts ticking — prompt action can save thousands in repair costs and prevent serious health hazards from mold growth.
Call 289-806-1616 for emergency ceiling water damage assessment and repair in the GTA.
Common Causes of Ceiling Water Damage
Understanding the source is critical for both repairs and insurance claims:
Plumbing Failures — Burst pipes, leaking joints, and failed supply lines are the most common cause in GTA homes. Ontario's harsh winters make frozen pipes a particular concern, especially in poorly insulated areas. Think about popcorn ceilings in older homess in neighborhoods like The Annex or Rosedale, where original plumbing might be nearing the end of its lifespan.
Roof Leaks — Damaged shingles, failed flashing, ice dams, and worn roof membranes allow water penetration. Toronto's severe winter weather accelerates roof deterioration. Areas with older housing stock like Cabbagetown and Leslieville are particularly susceptible to roof leaks after a harsh winter.
Bathroom Overflows — Overflowing bathtubs, failed toilet seals, and shower leaks frequently damage ceilings in rooms below. Second-floor bathrooms are a common culprit. Even a small leak can cause significant damage over time, especially in older homes in areas like High Park and Bloor West Village.
Appliance Failures — Washing machines, dishwashers, water heaters, and refrigerators with water lines can all leak. Regular maintenance and inspection of these appliances can help prevent costly water damage.
Condensation — Poor ventilation in attics and bathrooms leads to condensation buildup that gradually damages ceilings. Common in older GTA homes. This is a common issue in the older Victorian homes in neighborhoods like Parkdale and Little Italy.
Neighbour's Unit — For condo and apartment dwellers, water damage often originates from the unit above, creating complex multi-party insurance situations. This is a frequent occurrence in densely populated areas like downtown Toronto and North York.
Insurance Coverage for Ceiling Water Damage
What Is Typically Covered
Most Ontario homeowner insurance policies cover sudden and accidental water damage (burst pipes, sudden appliance failures), resulting damage to ceilings, walls, and floors, emergency mitigation costs, and temporary repairs. This coverage is designed to protect homeowners from unexpected events that cause significant damage.
What Is Typically NOT Covered
Standard policies usually exclude gradual damage (slow leaks over time), maintenance failures, sewer backup (unless specific rider purchased), flood damage (requires separate flood insurance), and overland water (requires specific Ontario endorsement). This highlights the importance of preventative maintenance and understanding the limitations of your insurance policy.
Average Insurance Claim Values
These figures provide a general idea of the potential costs associated with ceiling water damage, but actual costs can vary depending on the specific circumstances.
Filing a Successful Claim
Following these steps will help ensure a smooth and successful insurance claim process. Make sure to be thorough and accurate in your documentation.
Ceiling Water Damage Repair Process
Assessment Phase
Identify and stop the water source. Assess water penetration extent. Check for structural damage to joists and framing. Test for mold. Document all findings for insurance. This initial assessment is crucial for determining the scope of the damage and the necessary repairs.
Drying Phase
Remove standing water. Set up industrial dehumidifiers and air movers. Monitor moisture levels daily. Typical drying time: 3-7 days depending on severity. Proper drying is essential to prevent mold growth and further structural damage.
Repair Phase
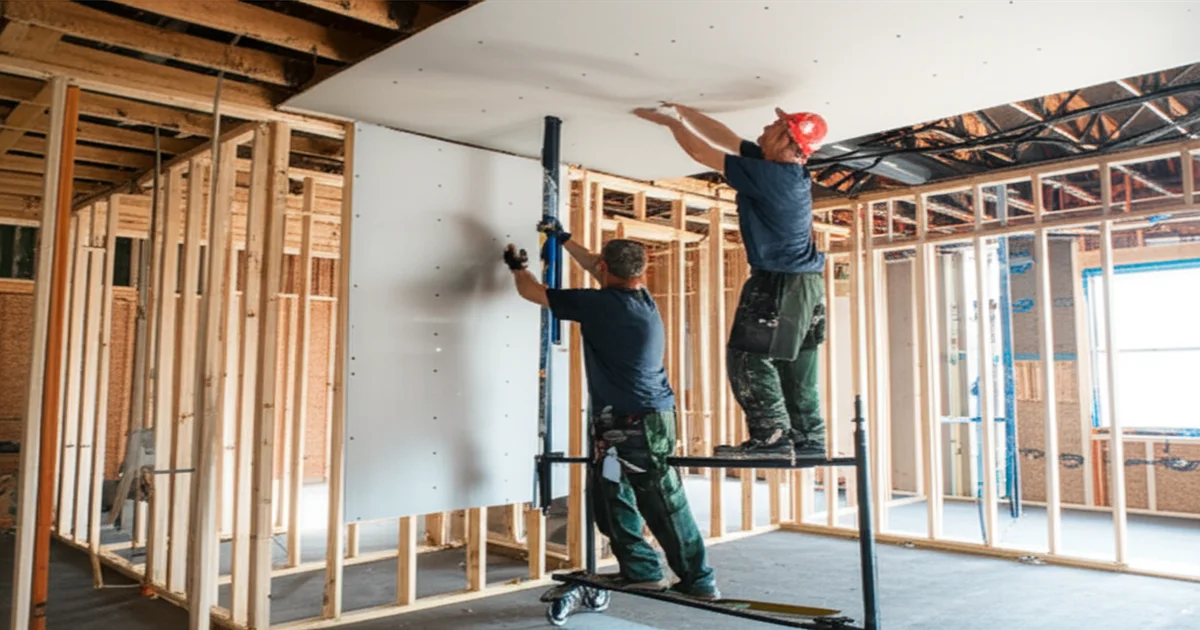
Remove damaged drywall, insulation, and materials. Treat any mold with antimicrobial solutions. Replace insulation and vapour barriers. Install new drywall. Tape, mud, and finish joints. Apply texture or smooth finish. Prime and paint. This phase involves restoring the ceiling to its original condition.
For more on ceiling repair techniques, visit our guides on water damaged ceiling repair and ceiling repair in Toronto.
Cost of Ceiling Water Damage Repair
| Repair Type | Cost Range |
|---|---|
| Small patch repair (under 10 sq ft) | $300–$800 |
| Single room ceiling replacement | $1,500–$3,500 |
| Multi-room repair | $3,000–$8,000 |
| Mold remediation (if needed) | $2,000–$6,000 |
| Full ceiling replacement with finishing | $4,000–$10,000 |
| Emergency water extraction | $500–$1,500 |
| Structural repair (joists/framing) | $2,000–$10,000 |
Insurance deductibles in Ontario typically range from $500–$2,500. Your out-of-pocket cost is the deductible plus any difference between claim value and actual repair cost. Understanding these costs can help you budget for potential repairs and make informed decisions about your insurance coverage.
Preventing Future Ceiling Water Damage
Prevention is far cheaper than repair. GTA homeowners should inspect roofing annually, maintain plumbing and replace aging supply lines, install water leak detectors near appliances and basements, ensure proper bathroom ventilation with exhaust fans, insulate pipes in unheated areas, keep gutters clean to prevent ice dams, and know the location of the main water shut-off valve. For example, homes in Scarborough are particularly vulnerable to ice dams due to the heavy snowfall they receive. Regularly clearing snow from the roof's edge can prevent significant water damage.
Call 289-806-1616 for professional ceiling assessment and repair. We work with all major insurance companies and help document damage for your claim.
Understanding Different Types of Ceilings and Their Vulnerabilities
Different types of ceilings react differently to water damage. Understanding your ceiling type can help you anticipate potential problems and take appropriate preventative measures.
Drywall Ceilings: The most common type in modern homes across the GTA, drywall is relatively inexpensive to install and repair. However, it's also highly susceptible to water damage, easily absorbing moisture and leading to sagging, staining, and mold growth. Older homes in areas like Riverdale might have multiple layers of drywall, making water damage assessment more complex.
Plaster Ceilings: Found in many older Toronto homes, plaster ceilings are more durable than drywall but can still be damaged by water. Water stains are common, and severe leaks can cause the plaster to crack or crumble. Repairing plaster requires specialized skills and materials. Neighborhoods like Rosedale and Forest Hill often feature homes with elaborate plasterwork, which can be costly to restore after water damage.
Suspended Ceilings (Drop Ceilings): Commonly used in basements and commercial spaces, suspended ceilings consist of tiles held in a grid. While the tiles themselves may not be significantly damaged by water, the framing and the area above the ceiling are vulnerable. Water leaks can also cause the tiles to stain or sag. Many finished basements in areas like Etobicoke and North York utilize suspended ceilings.
Wood Ceilings: Less common but found in some homes, wood ceilings can be damaged by water, leading to warping, rot, and staining. Proper sealing and ventilation are crucial to prevent water damage to wood ceilings.
Popcorn Ceilings: While many older popcorn ceilings contain asbestos and should be handled by professionals, water damage on popcorn ceilings can cause the texture to loosen and fall off.
How to Identify Early Signs of Ceiling Water Damage
Early detection is key to minimizing the impact of ceiling water damage. Regularly inspecting your ceilings for these signs can save you time and money in the long run.
Water Stains: Discoloration on the ceiling is a telltale sign of water damage. Stains can range from light yellow to dark brown and often appear in circular or irregular shapes.
Sagging: A sagging ceiling indicates that the drywall or plaster has absorbed a significant amount of water and is losing its structural integrity. This is a serious issue that requires immediate attention.
Peeling Paint or Wallpaper: Water can cause paint or wallpaper to bubble, peel, or flake. This is often an early sign of moisture intrusion.
Cracks: Cracks in the ceiling can be a sign of water damage, especially if they are accompanied by other symptoms like staining or sagging.
Mold Growth: Mold is a serious health hazard and a clear indication of water damage. Look for dark spots or patches on the ceiling, especially in areas with poor ventilation.
Musty Odor: A persistent musty odor can indicate hidden water damage and mold growth behind the ceiling.
Dripping Water: This is the most obvious sign of ceiling water damage and requires immediate action to stop the source of the leak.
Understanding the Role of Ventilation in Preventing Ceiling Water Damage
Proper ventilation is crucial for preventing moisture buildup and ceiling water damage, especially in bathrooms and attics.
Bathroom Ventilation: Exhaust fans remove moisture-laden air from the bathroom after showers and baths, preventing condensation from forming on the ceiling. Ensure that your bathroom exhaust fan is properly sized for the room and that it vents to the exterior of the house, not into the attic.
Attic Ventilation: Proper attic ventilation allows warm, moist air to escape, preventing condensation from forming on the underside of the roof and damaging the ceiling below. Ensure that your attic has adequate soffit vents and a ridge vent or gable vents.
Crawl Space Ventilation: Similar to attics, crawl spaces need proper ventilation to prevent moisture buildup.
Working with Insurance Adjusters in the GTA
Navigating the insurance claims process can be challenging, especially when dealing with ceiling water damage. Here are some tips for working effectively with insurance adjusters in the GTA.
Be Prepared: Gather all relevant documents, including photos, videos, repair estimates, and receipts.
Communicate Clearly: Clearly explain the extent of the damage and the steps you have taken to mitigate further loss.
Be Persistent: Follow up with the adjuster regularly to ensure that your claim is being processed in a timely manner.
Understand Your Policy: Familiarize yourself with the terms and conditions of your insurance policy.
Consider Professional Help: If you are having difficulty with the claims process, consider hiring a public adjuster or attorney to represent your interests.
Finding a Reputable Ceiling Repair Contractor in Toronto
Choosing the right contractor is essential for ensuring that your ceiling water damage is repaired properly.
Check Credentials: Verify that the contractor is licensed and insured.
Read Reviews: Look for online reviews and testimonials from previous customers.
Get Multiple Estimates: Obtain estimates from at least three different contractors.
Ask Questions: Ask the contractor about their experience, their approach to the repair, and their warranty information policy.
Get a Written Contract: Ensure that all terms and conditions of the repair are clearly outlined in a written contract.
Addressing Mold Growth After Ceiling Water Damage
Mold growth is a common consequence of ceiling water damage. Addressing mold promptly and effectively is crucial for protecting your health and preventing further damage to your home.
Identify the Mold: Determine the type of mold and the extent of the infestation.
Contain the Mold: Seal off the affected area to prevent the spread of mold spores.
Remove the Mold: Clean or remove mold-contaminated materials. In some cases, professional mold remediation may be necessary.
Prevent Future Mold Growth: Address the source of the water leak and ensure proper ventilation to prevent future mold growth.
Consider Professional Mold Remediation: For significant mold infestations, it's best to hire a certified mold remediation specialist.
How to Choose the Right Paint for Your Repaired Ceiling
After the repairs are complete, choosing the right paint is important for achieving a lasting and aesthetically pleasing result.
Use a Primer: Apply a stain-blocking primer to prevent water stains from reappearing.
Choose a Moisture-Resistant Paint: Select a paint that is specifically designed for use in bathrooms and other areas with high humidity.
Consider a Matte Finish: Matte finishes are less reflective and can help to hide imperfections in the ceiling.
Choose a Color that Matches Your Decor: Select a paint color that complements the overall decor of the room.
H2: What are the steps to take immediately after discovering a ceiling leak?
H2: How do I know if my ceiling water damage is an emergency?
Emergency situations require immediate action to prevent further damage or health hazards. Consider ceiling water damage an emergency if:
In any of these situations, contact emergency services and a professional water damage restoration company immediately.
H2: Can I repair ceiling water damage myself, or should I hire a professional?
The decision to DIY or hire a professional depends on the extent of the damage and your skill level.
DIY Repair: Small, localized water stains or minor drywall damage might be suitable for DIY repair. This involves cleaning the affected area, patching the drywall, and repainting.
Professional Repair: For more extensive damage, such as sagging ceilings, structural damage, mold growth, or complex repairs, it's best to hire a professional. Professionals have the expertise, equipment, and training to safely and effectively repair the damage and prevent future problems. Also, if you live in a condo in downtown Toronto, you may be required by your condo board to use a professional.
H2: How Long Does Ceiling Water Damage Repair Typically Take?
The duration of ceiling water damage repair varies depending on the severity of the damage and the extent of the repairs needed.
These are just estimates, and the actual timeline may vary depending on the specific circumstances.
Frequently Asked Questions
Should I file an insurance claim for ceiling water damage?
Generally yes if damage exceeds your deductible and is from a covered cause. However, multiple small claims can increase premiums. For damage under $3,000 with a $1,000 deductible, weigh the long-term premium impact against out-of-pocket cost. Remember, filing a claim could impact your insurance rates in the future, so consider the long-term implications.
How quickly should I address ceiling water damage?
Immediately. Mold can begin growing within 24-48 hours. The longer water sits, the more extensive and expensive repairs become. Stop the water source and begin drying within hours. Delaying action can lead to more significant structural damage and health hazards.
Will my insurance cover mold from water damage?
If mold results from a covered peril (like a burst pipe), most policies cover remediation. But mold from gradual leaks or lack of maintenance is typically excluded. Review your policy carefully.
What are the long-term risks of ignoring ceiling water damage?
Ignoring ceiling water damage can lead to serious consequences, including:
Addressing water damage promptly is crucial for protecting your home and your health.
Don't let ceiling water damage ruin your home. Call us today at 1-289-806-1616 for a free assessment and expert repair services in Toronto and the GTA. We're here to help you restore your home and peace of mind.